Photographer guide
How to use the app and work with clients
From your first booking to getting paid — the seven steps that cover almost every shoot you'll do with Smiler.
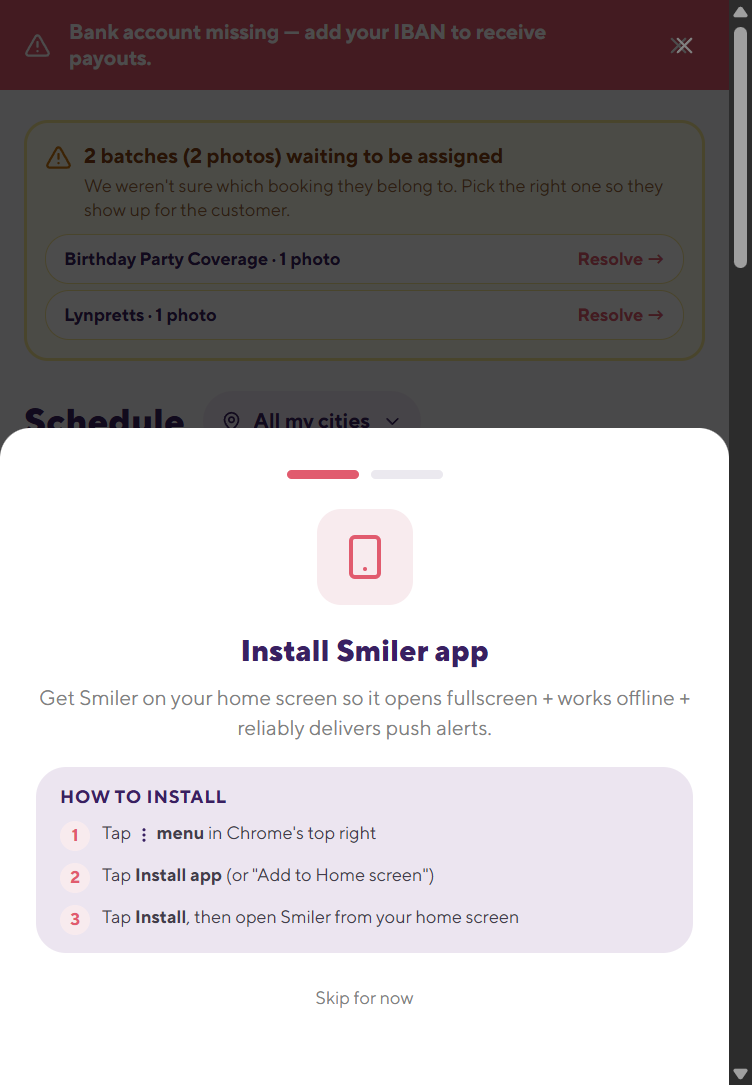
Install the app and set up your account
Open app.smiler.co on your phone and add it to your home screen — on iPhone tap Share → Add to Home Screen, on Android tap Install app. There's nothing to download from an app store.
- Complete your profile and add your portfolio link.
- Add your payout details so we can pay you.
- Turn on notifications so you don't miss new bookings or client messages.
Accept a new booking
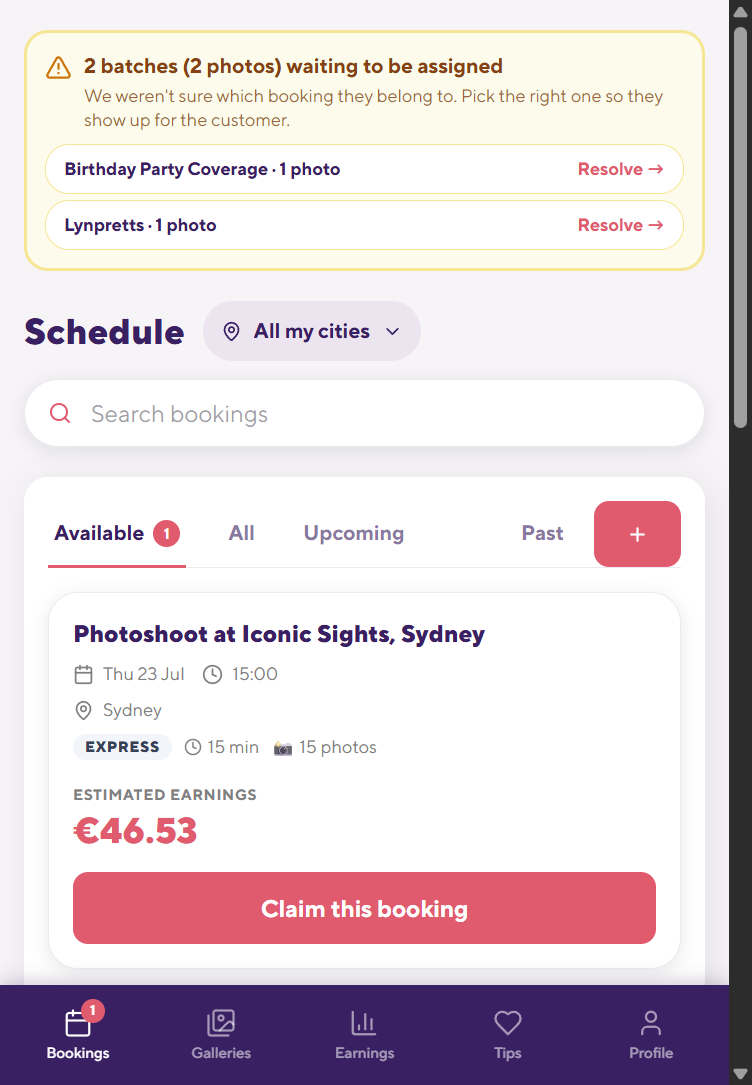
New shoots appear under Bookings → Available. Open one to see what it involves, then tap Claim this booking. Bookings are first come, first served.
Before you claim, you can see:
- Date, time and meeting point
- Package, shoot length and how many photos are included
- What you'll earn
Meet your client and scan their code
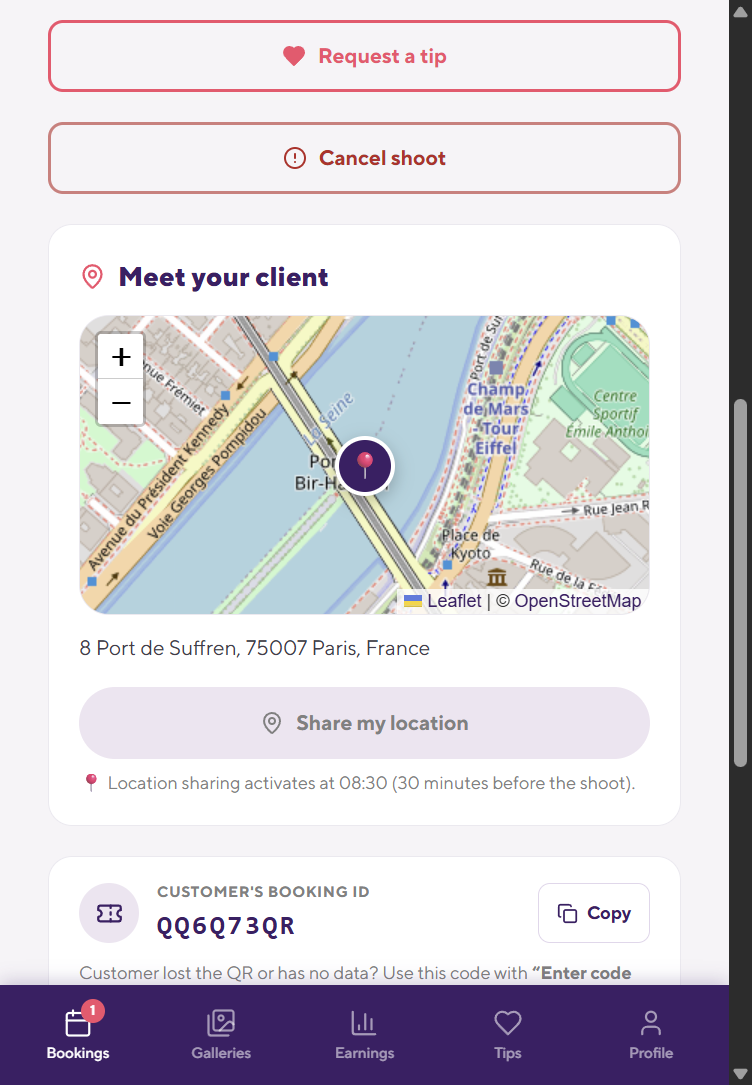
Go to the meeting point in the booking. When you find your client, open the booking and tap Scan QR code to check them in.
You can scan before, during or after the shoot — whatever fits the moment. If the code won't scan, tap Enter code manually and type the booking reference the client received by email.
Shoot the session
Follow the package in the booking details — it tells you how long the session runs and how many photos the client has paid for. Deliver at least that many.
Everything you need stays in the booking, so you can check it mid-shoot without calling anyone.
Edit and upload the photos
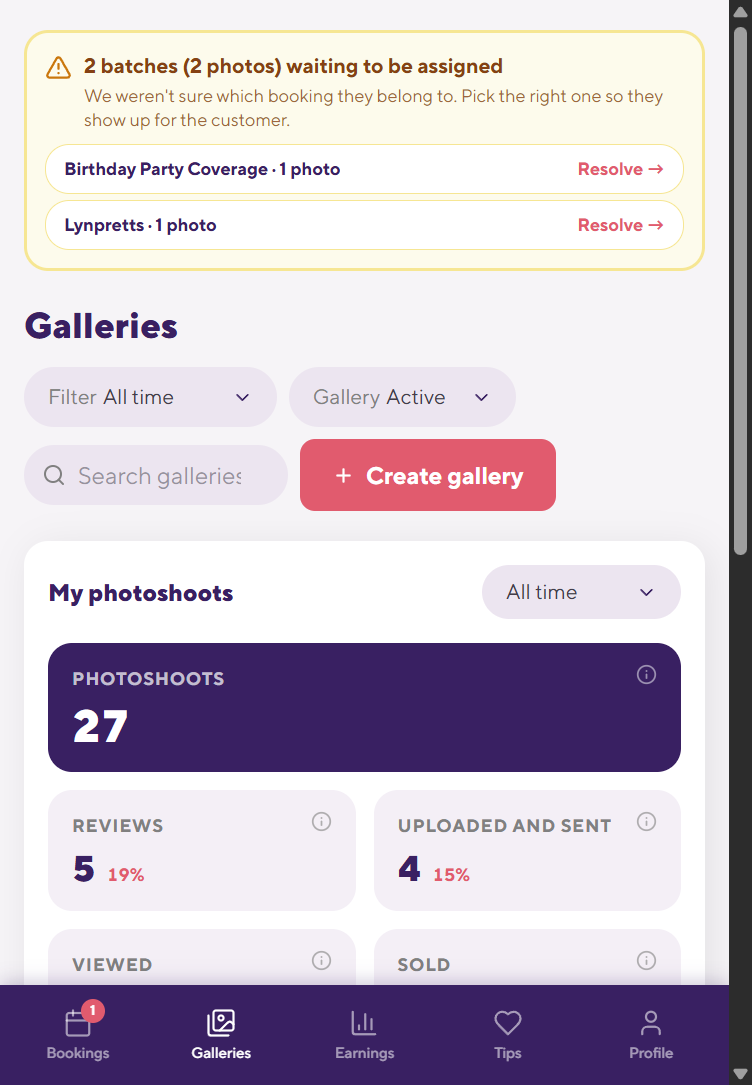
Edit your images, then upload the finals through the app under Galleries. Open the gallery for that booking and add your photos there.
Get paid
Shoot from Monday to Sunday, upload your photos, and your payment arrives the following Wednesday.
If you invoice with a VAT number, payments run monthly instead — on the first Wednesday of the new month.
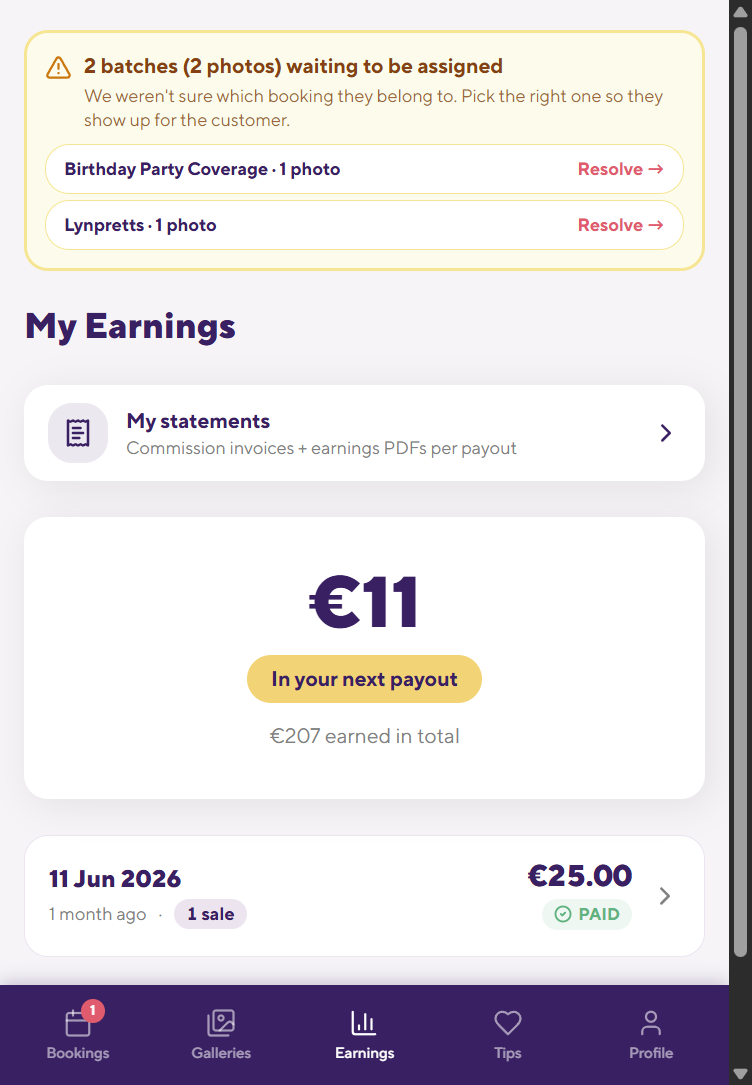
You can follow your balance any time under Earnings.
Need help?
If anything goes wrong before, during or after a shoot, contact our Customer Support team — the sooner the better, especially if a client hasn't turned up.